
First, take some material from nature from which you can wind a wreath (it still needs to be a bit spring-y and flexible ) - this could be old clematis- shoots, or dried sweet peas from last year .
Just have a look around to see what you can find, either in your garden or on a field trip or walk.
The material needs to be flexible and not break .I used old sweet peas .
I also got some very thin willow wisps to thread around it and some moss for the filling of the nest.
So this was my main material.

Take a handful or two of the stringy material, either clematis or old sweet peas, stretch it out so you have a long sort of string a hand wide and start turning it into a circle, as though you are making a wreath. Cup the bottom together with your hands and pad and make into a bowl. Use some willow strips to weave through it so you fasten it to itself. Make a slightly bigger wreath on top and a circlet of willow at the top.
Leave the willow sticking out here and there to get a rustic feel. Fill the bottom of your nest with moss.
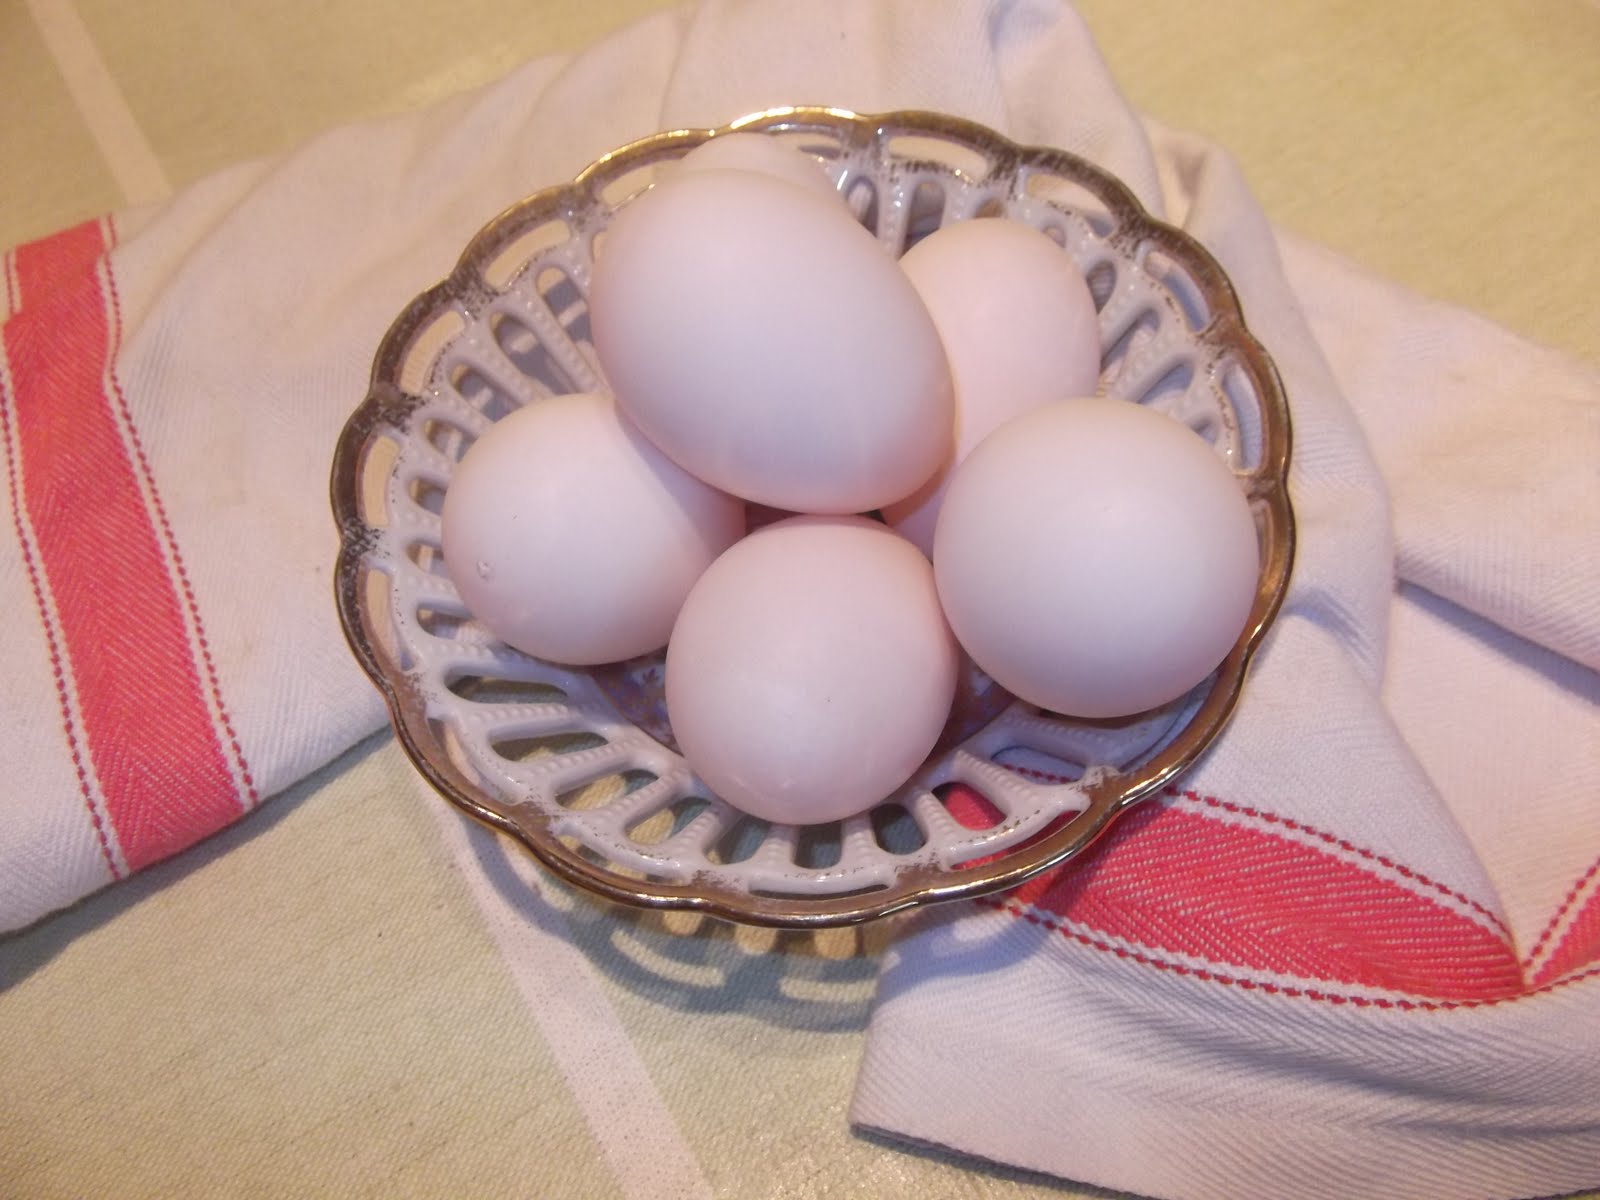
Now for your eggs.

and blow out the egg yolk and egg white-

I usually get some feline assistance with the disposal of the egg yolks at this part of the proceedings !!


Clean the eggs and dry them ( more extensive instructions if you need them are in this post, ( Easter egg display with painted eggs ) then paint the eggs pale blue .
I had some “ Theresa’s Green “ paint over from Farrow and Ball, from my plate rack make-over post - and this was a perfect pale blue.
To be able to paint the egg all over, so that you do not have to hold it, you can take a wooden skewer which you can get in a kitchen shop or supermarket, normally used for barbecueing, and skewer the egg on it, sticking the skewer in through the bottom hole you made, and fixing it in the top hole in the egg.
Paint the egg all over, turning it on the skewer, than fix the skewer while the paint dries in a surface that will support the skewer and egg.I could not think of anything clever so put it in a big candle.

You get no marks or fingerprints on the egg this way and it can dry all over. Once the egg is dry, it is time to paint the little speckles on it.
Take a saucer, a brush, some dark brown oil paint and some non-smelling oil paint thinner.


You can use this as a nice Spring Table Display in whatever way you like..quite simple, with some silver candelabra's and Spring flowers-


So enjoy the Spring time and your Spring crafting!!
17 comments:
Dank je wel voor deze leuke tutorial om gespikkelde eieren te maken, geweldig.
Beautiful job - I love the eggs and nest!! Glad to find you today through Show Off your Cottage Mondays - I'm your newest follower :O)
What beautiful eggs! Thanks for the "how to!"
Dearest Bea,
You are the very best in presenting such a decoration in a clear and well illustrated manner! Looks so precious at the end.
Lots of love,
Mariette
Love the tutorial. The eggs are fantastic. Thanks so much for joining TTT. Hugs, Marty
The nest is as perfect as if a bird had actually made it.....you are most artistic. And I adore the eggs.....yet again, so realistic and delicate.
Great tutorial, beautiful eggs. Thanks so much for being a part of Seasonal Sundays.
- The Tablescaper
Great job with the eggs! Thank you for sharing it at Masterpeice Monday. Have great week, Mary :O)
Great look and great tutorial
Love the tutorial. They eggs turned out great!
Wow! Thanks for sharing. It looks so spring like and peaceful. Your newest follower.
Such a wonderful natural element. I love all things bird related, so this is perfect for me. You displayed your nest so wonderfully in the last pictures. I'm now your newest follower!
They indeed came out nicely!
Linking this up with us made the Creative Bloggers' Party & Hop better and more special. Thank you!
Very pretty. I love the nest tutorial and eggs. The way you put them together with the silver and crystal is just beautiful.
Oh how pretty. Well done, thank you for sharing this fun craft tutorial. I enjoyed my visit yo your lovely blog, Hugs!
Thanks for your comment on my Royal Wedding Breakfast Part II post. I've since posted a lot more of our royal breakfast and thought you might like to come back and take a look.
I'd love to have you join us at Seasonal Sundays this Sunday, particularly since it's Mother's Day.
- The Tablescaper
So pretty and springy! You did a beautiful job on them. Thank you for sharing your project with us at Inspiration Friday!
Heather
Post a Comment